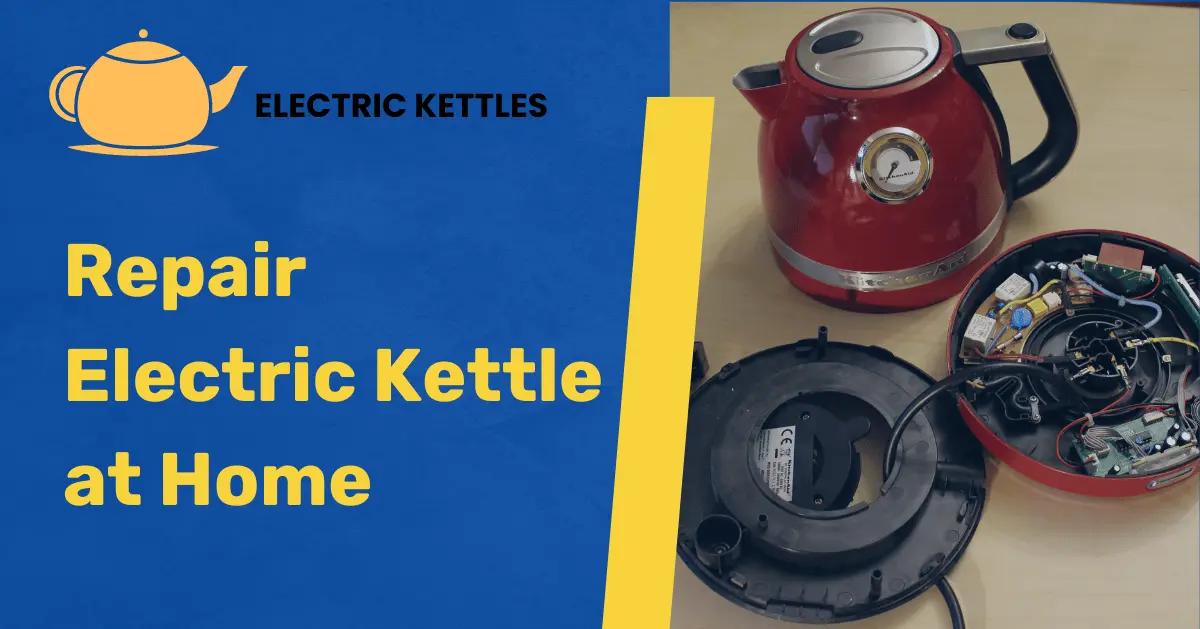
3 Methods to Repair Electric Kettle at Home
Electric kettles can face common problems that stop them from working properly. One of the main issues is power failure. This failure can happen when the power cord or plug is damaged, or when the kettle’s internal components, like the switch, are faulty. Sometimes, the kettle doesn’t heat up because of problems with the heating element. This is usually due to mineral buildup from hard water or a loose connection.
Another common issue is leaking. Over time, the kettle might develop cracks or its seals might wear out, causing water to leak. Limescale buildup can also lead to blockages, affecting the kettle’s performance. These problems are usually easy to identify and can often be fixed at home with simple tools.
Table of Contents
Safety Precautions Before Starting the Repair
Before you start repairing an electric kettle, safety should be your top priority.
- Always disconnect the kettle from the power outlet to cut off the electricity supply. This reduces the risk of electric shock or short circuits while working.
- Make sure both your hands and the kettle are completely dry. Place the kettle on a flat, stable surface to avoid slipping, tipping, or falling during repair.
- Wear insulated gloves to protect your hands from sharp edges, electrical components, or hot surfaces. Safety glasses help shield your eyes from any unexpected sparks or debris.
- Use non-conductive tools like plastic or rubber-handled tools when working near electrical parts to prevent short circuits or unintended electrical contact.
- Make sure there is no water left inside the kettle or around the work area. Water can create a direct path for electricity, posing a serious safety hazard.
- If you are not confident about any repair step or lack the necessary tools, seek help from a professional technician to avoid causing further damage or risking injury.
Point out the Problem
- Check for Power Issues: First, see if the kettle turns on. If not, inspect the power cord, plug, and socket for any visible damage. Listen for any humming noise, which could indicate an internal electrical problem.
- Inspect the Heating Element: If the kettle powers on but doesn’t heat up, the heating element might be faulty. Look for signs of wear, rust, or limescale buildup on the element, which can prevent proper heating.
- Look for Leaks: Check the body of the kettle for cracks or leaks. Fill the kettle with water and observe if any water drips from unexpected places. Leaks could be due to worn-out seals or small cracks in the kettle’s body.
- Test the Switch and Thermostat: If the kettle turns on but doesn’t boil or shuts off too quickly, the thermostat or switch may be malfunctioning. Listen for unusual clicks or check if the switch feels loose or unresponsive.
- Observe for Unusual Smells or Sounds: Burning smells, buzzing noises, or unusual sounds can indicate electrical faults or overheating. These signs suggest internal damage that may require deeper inspection or replacement parts.
Tools Needed for Repair
1. Screwdrivers
A set of both flathead and Phillips screwdrivers is essential for removing the screws that hold the kettle’s casing or handle together. Make sure to use the correct size to avoid stripping the screws.
2. Multimeter
This tool helps check electrical continuity and identify if there is a power flow problem in the kettle’s wiring, plug, or heating element. It’s vital for diagnosing electrical faults.
3. Pliers
Needle-nose pliers are useful for gripping small components, tightening connections, or removing and replacing damaged parts. They are also handy for bending or adjusting internal wiring.
4. Insulating Tape
Use insulating tape to cover any exposed wires or connections after repairs. This prevents accidental electric contact and helps maintain safety standards.
5. Descaling Solution or White Vinegar
Useful for removing limescale buildup on the heating element or inside the kettle. Regular descaling can prevent performance issues and extend the kettle’s lifespan.
6. Protective Gear
Safety gloves and glasses protect you from sharp parts, hot surfaces, or electrical sparks during repairs.
3 Steps to Repair an Electric Kettle
These 3 steps can help you effectively repair the most common issues with your electric kettle at home.
1. Fixing Power Issues
Start by inspecting the power cord and plug for any visible damage, such as cuts, frayed wires, or loose connections. If the cord appears damaged, it should be replaced immediately to avoid any electrical hazards. Use a multimeter to test the continuity of the power cord, plug, and socket. This will help you confirm whether the electricity is flowing correctly.
Next, open the kettle using the appropriate screwdriver to check for internal wiring issues. Look for any loose, burnt, or disconnected wires inside the kettle. Reattach or replace any faulty wires and secure them with insulating tape to prevent short circuits.
2. Repairing Leaks and Water Damage
To repair leaks, begin by identifying the source. Fill the kettle with water and check for drips around the base, seams, or spout. Worn-out seals or gaskets often cause leaks. If a seal is damaged, use a waterproof adhesive or replace it with a new gasket to ensure a proper fit.
Apply food-safe silicone sealant to the affected area for small cracks or gaps. Make sure the kettle is completely dry before applying the sealant, and allow it to cure according to the manufacturer’s instructions. This will help restore the kettle’s water-tightness and prevent further leaks.
3. Heating Element Problems
If your kettle is not heating up properly, the heating element may have a problem. Start by descaling the heating element, as mineral deposits from hard water can cause slow or uneven heating. Use a descaling solution or white vinegar and let it sit inside the kettle for a few hours to dissolve the buildup. Rinse thoroughly to remove any residue.
If descaling doesn’t fix the problem, test the heating element with a multimeter to check for continuity. If there is no continuity, the heating element may need to be replaced. Refer to the manufacturer’s guide for the proper replacement procedure and make sure all connections are tight and secure.
Testing the Kettle After Repair
After finishing the repairs, start by reassembling the kettle carefully. Make sure all components, including screws, wiring, and the heating element, are securely in place. Check that the casing is properly aligned and closed, with no parts misaligned. This is crucial to ensure that the kettle functions correctly and safely.
Next, perform a safety check before plugging in the kettle. Inspect it for any exposed wires or loose parts. Fill the kettle with water, up to the maximum fill line, and place it on a stable, flat surface. This will help you determine if there are any leaks or issues with sealing.
Switch it on once you plug in the kettle and observe its operation. The indicator light should turn on, and you should hear the heating element working. Monitor how quickly the water heats up, ensuring it reaches boiling within a reasonable time. If the kettle heats up correctly, the heating element is functioning as expected. You can make an electric kettle at home as well if the repairing is not working.
FAQs
Q1. What if my electric kettle isn’t turning on at all?
If the kettle doesn’t turn on, check the power cord and plug for damage. Also, inspect the internal wiring and fuse. If these seem fine, the problem might be with the kettle’s switch or internal components.
Q2. Can I repair a cracked kettle?
A cracked kettle can be dangerous and is not usually safe to repair. If you see cracks, it’s best to replace the kettle rather than attempt a repair. Using a cracked kettle can lead to leaks and electrical hazards.
Q3. What should I do if my kettle is not boiling water properly?
If the kettle isn’t boiling water properly, check for limescale buildup on the heating element. Descaling the kettle can often solve this problem. If descaling doesn’t help, the heating element might need replacement.
Q4. How can I prevent my kettle from developing leaks?
To prevent leaks, regularly check and maintain the seals and gaskets. Avoid dropping or rough handling of the kettle. If you notice any wear or damage to the seals, replace them promptly.
Q5. Is it safe to use a kettle with a loose handle?
A loose handle is a safety risk and should be fixed before using the kettle. If tightening the screws doesn’t work, the handle or its attachment parts might need replacement. Using a kettle with a loose handle can lead to spills or accidents.
Conclusion
Repairing an electric kettle at home can be straightforward if you follow the right steps. By identifying common problems such as power issues, leaks, and heating element failures, you can address many issues yourself. Using the correct tools and safety precautions will make the repair process safer and more effective.
After completing the repair, it’s crucial to test the kettle thoroughly to ensure it works properly and safely. Check for leaks, verify that it heats water efficiently, and confirm that it turns off automatically. Regular maintenance, such as descaling and checking seals, will help prolong the kettle’s life and keep it functioning well.


